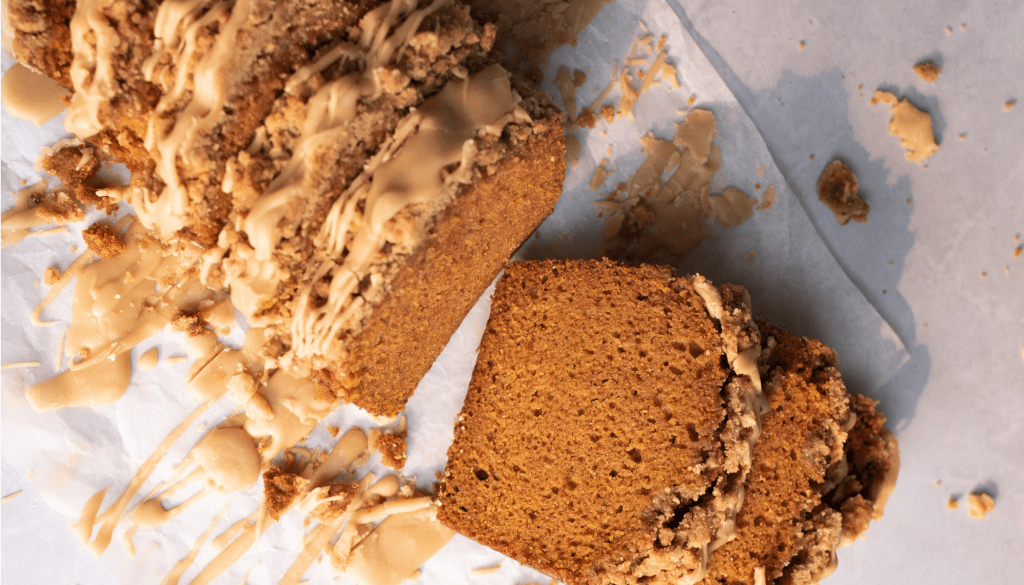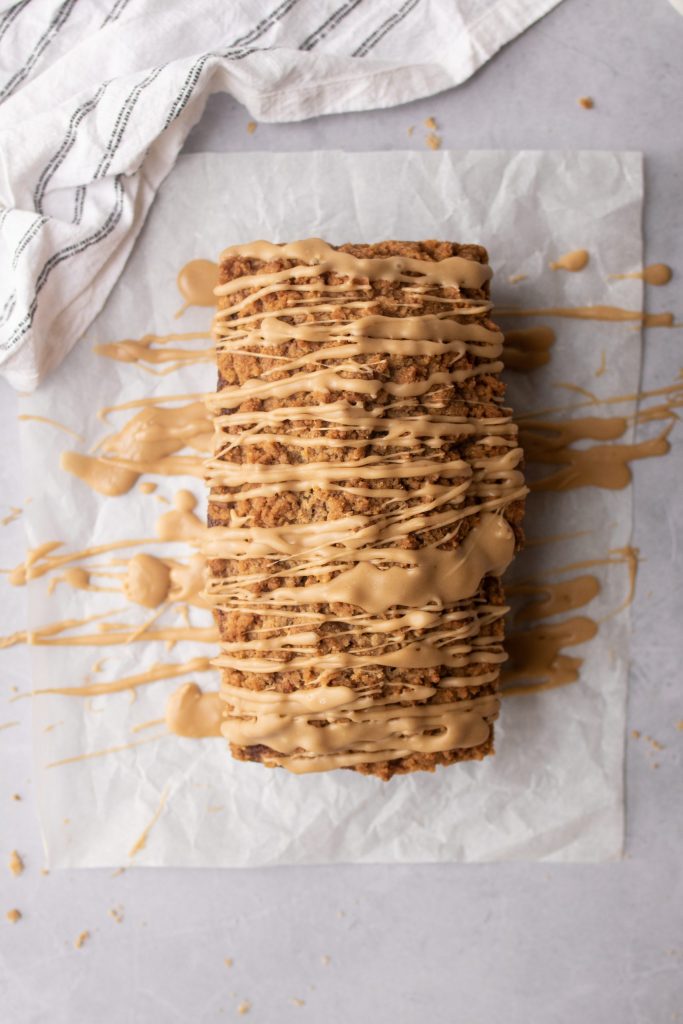


This delicious recipe comes from Lori Vaughn, owner of Lo’s Kitchen Co. She is an extremely talented baker who specializes in gourmet bakes made simple. So

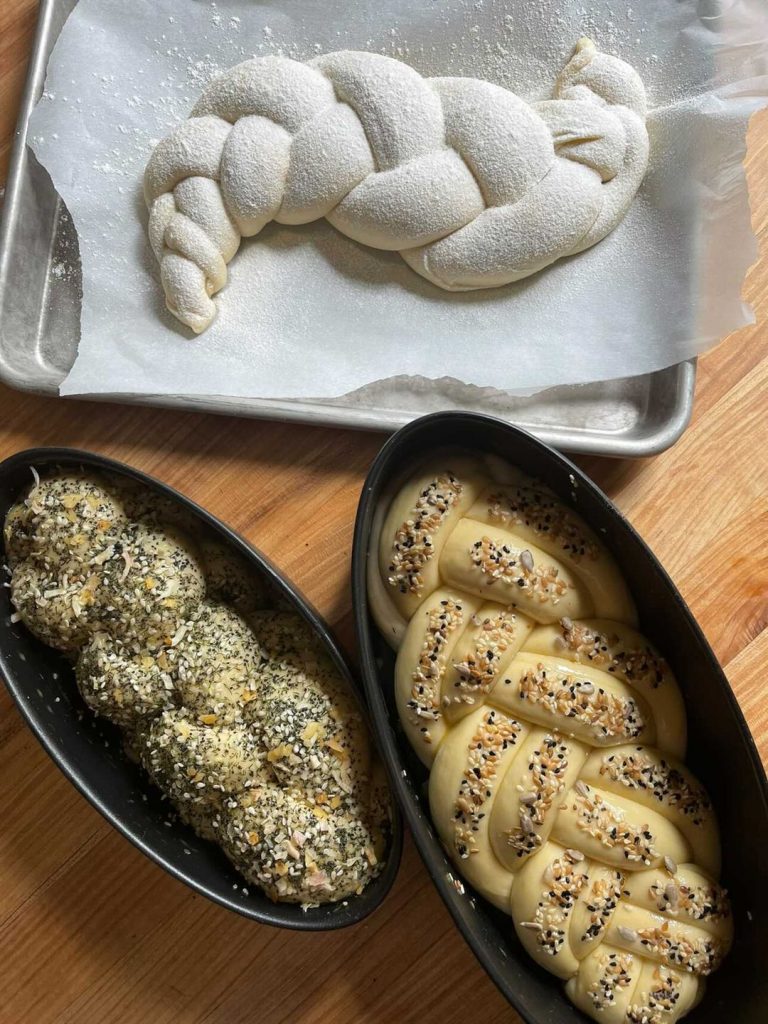
This recipe comes from Naomi E., who is a recipe developer. She’s always posting new recipes on her Instagram along with helpful tips & information.

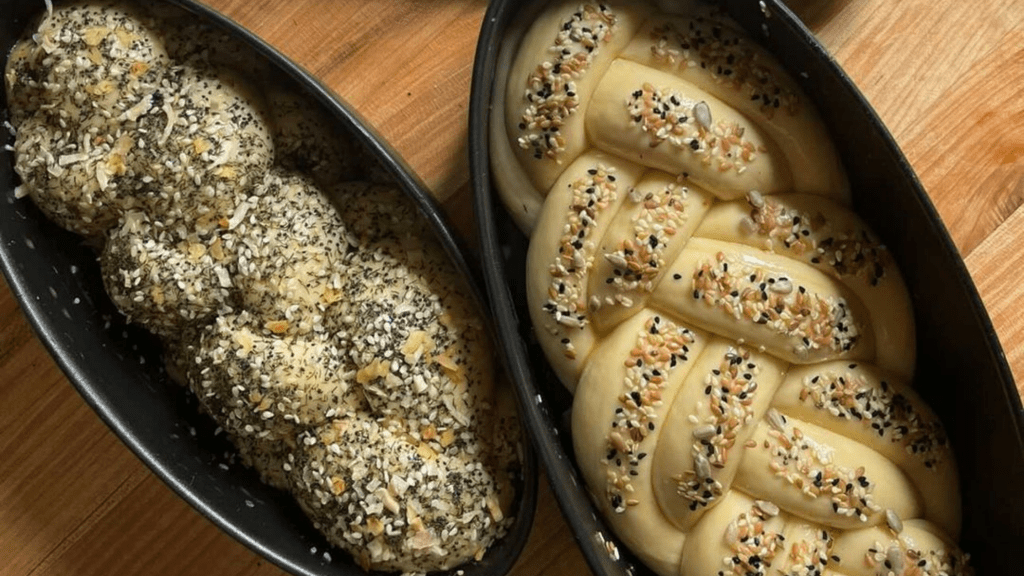
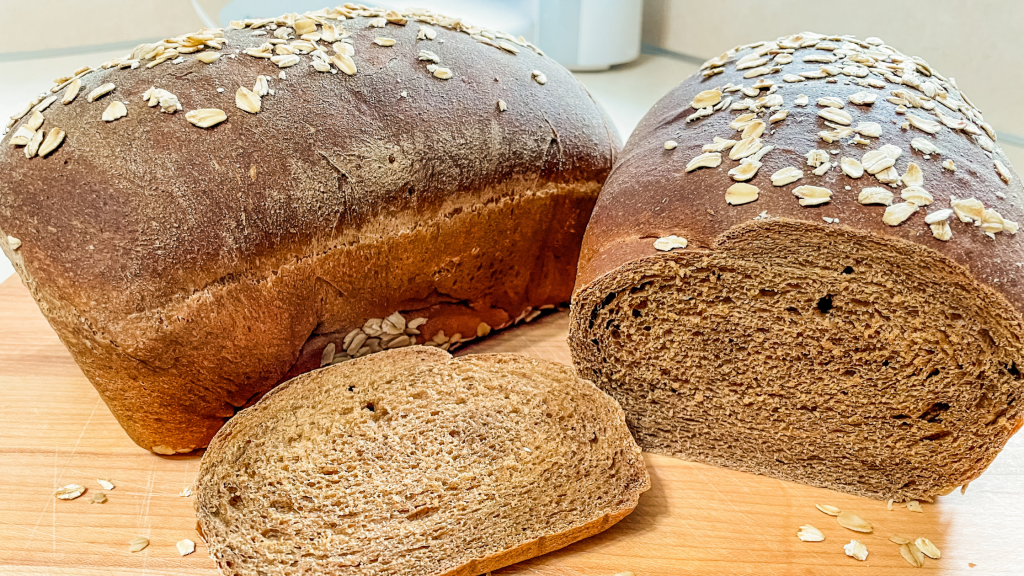
This delicious whole wheat bread recipe was created by the talented Heather, That Bread Lady. She has shared it for all of us to try!